

A Guide for Custom Shutter Fitting at Home

A guide for custom shutter fitting is not really about forcing a standard product into a window opening. It is about making the shutter suit your home - the way the room is used, where the sun comes in, how much privacy you need and what the walls will support. Around Bargara and Bundaberg, those details matter. A bright western window, a humid bathroom or a coastal living area can all call for a different approach.
Well-fitted shutters bring a calm, finished look to a room while giving you practical control over light, airflow and privacy. The difference between shutters that look built-in and shutters that feel awkward usually comes down to the planning, measuring and installation long before the panels are in place.
Start with how the room needs to work
Before choosing a shutter style or colour, think about the job the window covering needs to do. In a bedroom, privacy and early-morning light control may be the priority. In a living room, you may want to soften glare without closing the room off. Bathrooms need a material that handles moisture well, while street-facing windows often need privacy without losing all natural light.
PVC shutters are a popular option for Queensland homes because they are practical, easy to keep clean and well suited to wet areas. Their crisp lines can work equally well in a coastal home, a renovated Queenslander or a more modern build. The best choice still depends on the opening and the look you want to achieve, so it helps to consider the room as a whole rather than treating each window in isolation.
Also look beyond the glass. Shutters sit within or over the window reveal, and their depth changes the way a window feels. A slim, clean frame can make a small room feel orderly. A wider arrangement across several windows can become a feature in its own right.
Guide for custom shutter fitting: measure the whole opening
The most common mistake in shutter fitting is measuring only the visible glass. Custom shutters are fitted to the opening, reveal or wall surface, not simply to the pane. That means every part of the area around the window needs to be checked.
Windows are rarely perfectly square, particularly in older homes or after renovations. A difference of only a few millimetres from top to bottom can affect how panels sit, how evenly they close and whether louvres operate freely. Walls can also be uneven, reveals can be shallow, and window sills may project further than expected.
A proper measure considers the width at several points, the height at several points, the depth of the reveal, the sill, architraves, handles, locks and any nearby cornices or light switches. It should also account for flyscreens and security screens where relevant. These are not small details. They determine whether the shutter can open properly and whether the finished result looks tidy from every angle.
For this reason, measuring is usually best left to an experienced installer. A professional can identify an out-of-square opening before the shutters are manufactured and select the fitting method that gives the cleanest finish. It avoids the frustrating situation where a beautifully made product arrives but needs compromises on site.
Decide on the right mounting style
Custom shutters can generally be fitted inside the window reveal or mounted on the face of the wall around it. Neither option is automatically better.
An inside-mount fit can look neat and understated, especially when the reveal is deep enough and the window hardware is positioned sensibly. It keeps the shutter close to the glass and can preserve more wall space around the window. However, it may not suit a shallow reveal, proud handles or an opening that is significantly out of square.
A face-fit installation places the shutter frame over the opening. This approach can help cover uneven edges and provide extra clearance for handles, screens or awkward reveals. It creates a more framed appearance, which many homeowners prefer, particularly on wider windows. The trade-off is that the shutter occupies a little more wall space and needs sound fixing points.
The practical answer often becomes clear when someone sees the window in person. Good advice is not about steering every home towards the same method. It is about choosing the fit that looks right and functions well in that specific room.
Plan panel layout around access
The way shutter panels are divided has a big impact on daily use. A wide opening may need multiple panels so they remain manageable and do not put unnecessary weight on hinges. A window you open often should have panels arranged to give easy access to the handle. For a sliding door or a frequently used opening, the swing direction matters just as much as the panel size.
Think about furniture too. A bed, sofa or dining setting placed close to a window can make certain panel arrangements inconvenient. This is worth discussing before manufacture, not after installation. Custom work should make the room easier to live in, not create another thing to work around.
Choose louvres for light, privacy and outlook
Louvre size changes both the appearance and performance of shutters. Larger louvres create a more open view when tilted and often suit bigger windows or contemporary spaces. Smaller louvres can offer a more detailed look and may feel better proportioned on compact windows.
There is no one-size-fits-all answer. If you have a lovely garden outlook or want to make the most of coastal breezes, a larger louvre may appeal. If the window is close to a neighbour or faces a busy street, the angle and size of the louvres can help you maintain privacy while still letting daylight into the room.
Colour deserves the same practical thinking. White and soft neutral shutters are timeless and brighten many interiors, but the best shade is the one that works with your wall colour, trims, flooring and furnishings. Looking at samples in the actual room is far more useful than choosing from a photo. Light shifts through the day, especially in Queensland homes with strong sun exposure.
Do not overlook the wall behind the frame
Shutters may look lightweight, but a lasting installation relies on secure, appropriate fixing. The installer needs to know whether the frame is being fixed into timber, masonry, plasterboard or another surface. Fixings must be chosen for the wall and positioned to support the shutter frame correctly.
This is where trade knowledge makes a genuine difference. Sometimes a wall or reveal needs minor preparation to achieve a level, professional finish. A skilled team can spot issues with plaster, render, paintwork or uneven surfaces and work out the sensible fix before they become visible after installation.
It is also why the cheapest quote is not always the best value. A product-only price may not include detailed measuring, proper site preparation, quality fixings or adjustments once the shutters are hung. Those are the parts that help custom shutters keep looking good and operating smoothly over time.
Prepare the room for installation day
Once shutters have been made for your windows, installation is usually straightforward when the space is ready. Clear furniture away from the windows where possible and remove fragile items from nearby surfaces. Let the installer know about recent painting, new flooring or access restrictions, particularly in a renovation.
If the home is occupied, it is helpful to plan around children, pets and work-from-home calls. Installation involves tools, drilling and some movement through the house, although an experienced local team will keep disruption to a minimum and treat your home with care.
At Keast Shutters & Blinds, the aim is to make the process feel simple: practical advice first, a tailored measure and a finish that suits the home rather than a catalogue picture.
Care that keeps shutters looking fresh
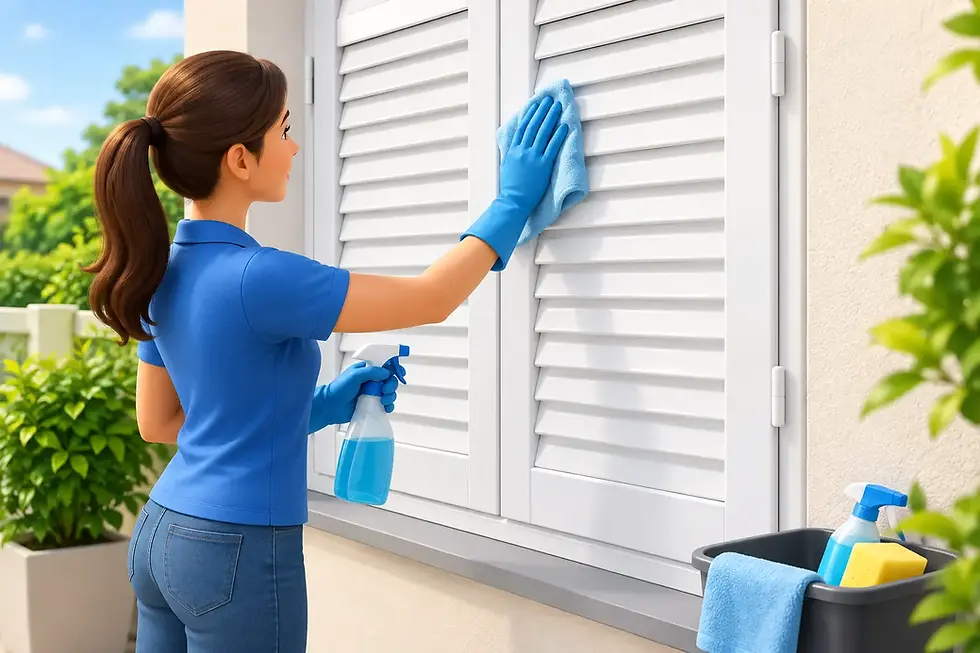
PVC shutters are refreshingly low-maintenance. Regular dusting with a soft cloth or duster will keep louvres looking clean, and a lightly damp cloth can deal with marks. Avoid harsh abrasives or soaking the frames, particularly around moving parts.
Open and close panels gently rather than pulling on louvres, and check that furniture has not been moved into their swing path. If something begins to catch or feel out of alignment, address it early. Small adjustments are easier before they turn into wear on hinges or frames.
The right shutter fitting should feel natural from the first day: light where you want it, privacy when you need it and a finish that makes the room feel properly yours. Take the time to measure the real conditions of your home, and the result will keep earning its place for years to come.

Comments